


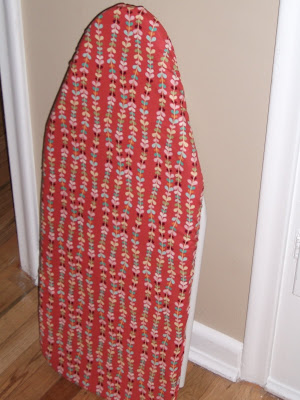
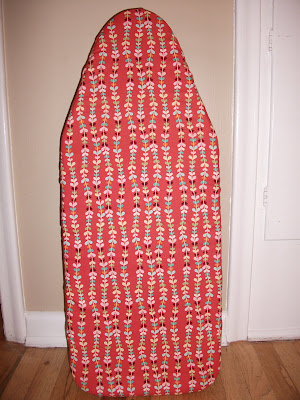
 Here is what you need for this little pretty.....


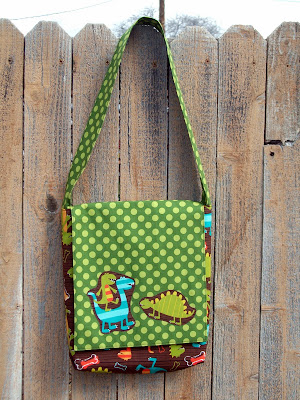
 Here is what you need for this project....
Also, sorry this took me so long to post. It has been done for about 2 weeks. Every stinking time I go to do something on the computer, my internet has been down. Hopefully it will be better for the rest of the summer.

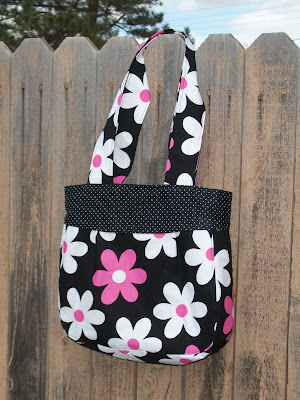
 Here is what you need......
That is it!! It is seriously the easiest, cutest bag I have made, and believe me, I have made a lot.
 As promised here it is, and YES, it's a giveaway!! I will give all the details below after I get to what you really came here for. This apron has been one of my favs to make in this book. I actually made 8 of these for the boutiques I have been doing, and sold all but this one!! I changed a few things about this pattern. I didn't do the "funky, vintage, and/or coordinating buttons" to the sides where you attach the ties. I didn't think it was necessary since I felt they were purely for decoration. I also put pre-made bias tape around the apron instead of making hems. SO much easier, and made it much faster too. This pattern was super easy to follow, and gave really great instructions. I would TOTALLY make another one in the future....duh!!
I know you are dying to find out how to win this little pretty....well, all you have to do is tell me who your favorite fabric designer is AND why. I will choose a winner by Wednesday, May 12th. Good luck to all my AMAZING and LOYAL followers!!

 Here is what you need for this little pretty....
If you decide to give FOE a try, to be safe, have a yard and a half on hand, and stretch it to its limit when zig zag stitching it on.
Next project will be up on the blog by Saturday, May 8th, and it's a giveaway project!! I told you I would make it worth the wait!!
 Here is what you need to complete this dalring little project......
As for my next project, you may need to give me a little extra time but I promise to make it worth your while. Not because it is hard but because I am doing 5 boutiques in the next 3 weeks, and am feeling just a tad bit overwhelmed. So, since I am asking you all to keep following me and please be patient, the next 2 projects after this one will BOTH be giveaways!! And I promise they both will be oh so worth the wait.
So here's what you need.....
WOOHOO.....this is my first give-a-way!! All you need to do to be eligible is become a follower and leave a comment on why YOU should win this little goodie!! I will announce the winner when I post the next project!! Good Luck!!!
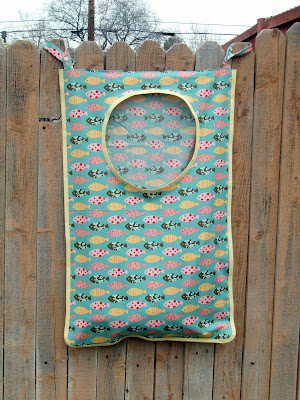
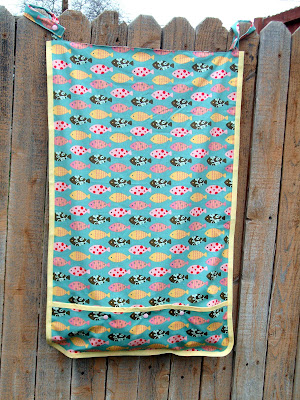
 Here is what you need......
The next project is going to be a giveaway project!! It is an adorable hanging laundry bag!! Make sure to check back and leave comments! It is due on the blog by Friday, April 9th!!

Here is what you need.....
Project #8 will be up on the blog by April 2nd......it's a tricky one!! I know this seems like a long time but I am participating in the Simple Treasures Boutique this week and have a ton of stuff to finish!! I PROMISE it will be worth the wait!!
 Cole's with soccer stuff....of course!!
 This pic shows how you use the rubberized shelf liner to keep it in place under the mattress.
  Here is a list of what you need....it's just a list of supplies

 I am not going to give it all away but here is what you need to complete this project.....


 Check back on Monday, March 8th for Project #4. That is unless Adam gets to come home this weekend, and then there may be a few day delay. I am sure all who know our situation will totally understand!!
 Project #3 will be posted by March 4th.....it is a little more complicated than the first 2!!
PROJECT #2 WILL BE POSTED BY FEBRUARY 27th!!

